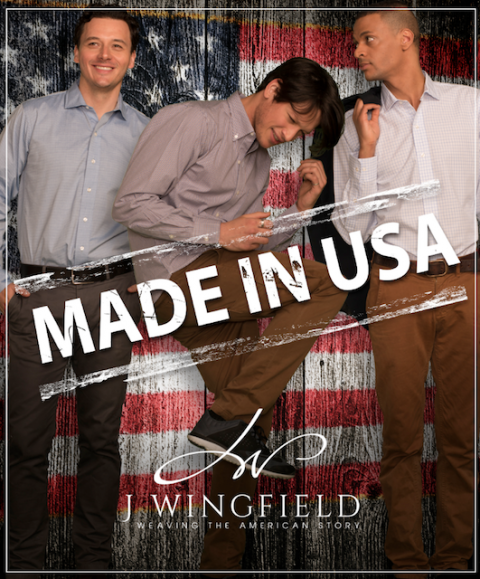
Post courtesy of J Wingfield – American Shirting Collection
Alert: Your shirt is most likely wrinkled.
Here’s the low-down on dress shirts – if you don’t want to bother with taking care of them before you put them on, you shouldn’t really buy any. Dress shirts are made to make you look good, but you need to put some effort into it. For starters, you need to iron them before wearing them, and no, putting a jacket over a shirt will not cover the fact that you were too lazy to set aside two minutes to iron at least a part of the shirt and make it look right. Ironing your shirts is fast, easy, and mandatory, and here’s how you should do it.
Preparation is Key
It really is. Start by taking a look at your shirt. Does it have any stains? Because you don’t want to iron over a stain, as it will make it harder for you to get it out later, and it’s better to get another, clean shirt. Take note of the type fabric your shirt is made from, because you’ll need this information to set the right temperature on your iron. Different materials are ironed at different temperatures. If you don’t know where to find this information, there’s usually a label with it on the inner side of the shirt.
Fill your iron with water if it has a steamer function. If not, don’t worry, you can always moisten the shirt with some water using a spray bottle. It’s way easier to iron a shirt if it’s a little wet. Set the correct temperature and let the iron warm up.
Start With the Collar and Cuffs
The first part of the shirt you should iron is the collar. Make sure you’ve taken out collar stays if the shirt has them. Lay the collar flat on the ironing board, and iron the underside of the collar first. Then flip the shirt and iron the outer side of the collar.
Move on to the cuffs. Unbutton all of the buttons, including those found further up the sleeve. Iron the cuff on the inside first and then the outside, and remember to never iron over any buttons. Instead, iron around them. Do the same on the other cuff.
Moving On
The shirt front should be next. It’s best to start with the side that has the buttons. And again, ironing around the buttons is the way to go. So start from the top of the shirt, moving towards the bottom, and when you finish one side, move on to the other one. If the shirt has a placket, which is sort of a fold where the shirt’s button holes are, make sure to iron under it first, and then over it.
Next is the yoke, the part of the shirt under the collar which spreads across your shoulders. To iron it, press the iron from one end of it over to the other, and when you finish it, move down to the back of the shirt, which is actually the easiest part of the shirt to iron. Top to bottom and you’ll be left with sleeves only.
Sleeves can be a bit tricky, because you’ll effectively be ironing a double layer of fabric. That’s why you need to be extra careful not to create any creases, and you can do that by carefully laying the sleeve on the board and flattening it really well. Start ironing the sleeve from the shoulder and work your way towards the cuff, then flip the sleeve over and repeat it.
And that’s all there is to it. Of course, the best idea would be to try and iron all of your shirts in one go. That way, you’ll be sure you’ll never be without an ironed shirt when you need it. If you, however, find yourself with little time to iron a shirt, and you know you’ll be wearing a jacket without taking it off, iron only the collar, the cuffs and the upper half of the front.
 News Las Vegas Business, Info & Events


